Creating Accessible PDFs from Adobe InDesign
Adobe made significant improvements to accessibility beginning with the release of InDesign CS5.5 and every version preceding that has been improved. The following are some basic steps for creating accessible documents in InDesign.
Use paragraph styles consistently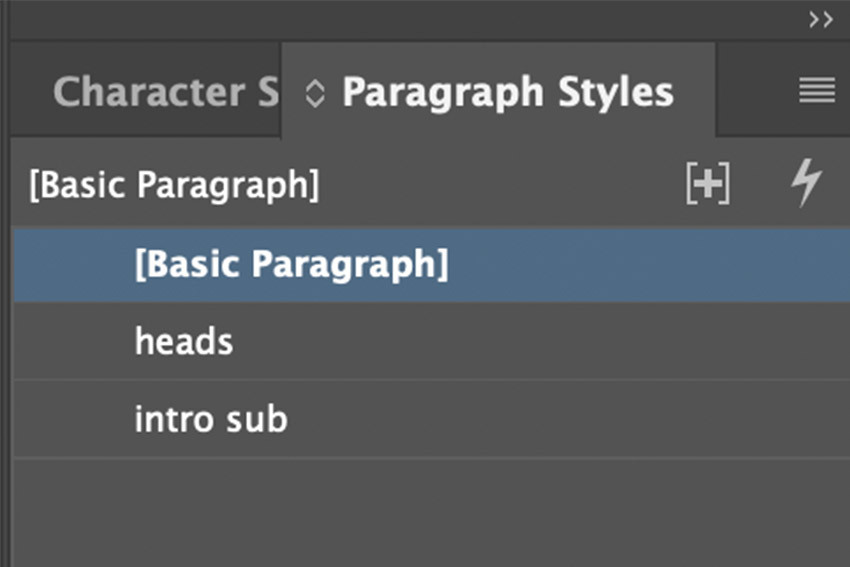

Consistent use of InDesign paragraph styles throughout a document is critical for efficiently and successfully exporting the content to PDF. Base the styles on their hierarchical structure (main headline, secondary headings, subheading, and so on) and apply them appropriately to paragraphs according to their hierarchical role in the document.
- Create your document using paragraph styles (Window > Styles > Paragraph Styles). This is required for accessibility.
- Use them consistently throughout the document to define styles for all text, including headings and sub-headings.
Establishing Headings
For headings, use styles that indicate the heading level, (ex. Heading1, Heading2) within the organizational structure of the document, headings are used to form an outline of the document.
To establish headings in a document
- Highlight heading
- Open paragraph styles window
- Create new paragraph style, by selecting the new paragraph style button at the bottom right of the paragraph style window
- Right click on your new paragraph style and select “Edit paragraph style”
- Give the paragraph style a new “Style Name” like “h1 orange” at the top of the General section
- Go to the “Export Tagging” section and select the appropriate heading from the PDF Tag dropdown
- Select OK
Map headings to tags
- Open the Tags window
- Go to Window > Utilities > Tags
- Make new tags for every type of heading you have in your document (ex. H1, H2, H3) by selecting the new tag button at the bottom right of the tags window
- Right click on the more options button at the top right of the tag window and select “Map Styles to Tags”\
- A new window will pop up with a list of all the paragraph style you have created, find the headings and click on [Not Mapped] to reveal a dropdown of all of the new tags you created. Make sure to select the same tag that you assigned the paragraph style in the “Export Tagging” options.
- Select OK
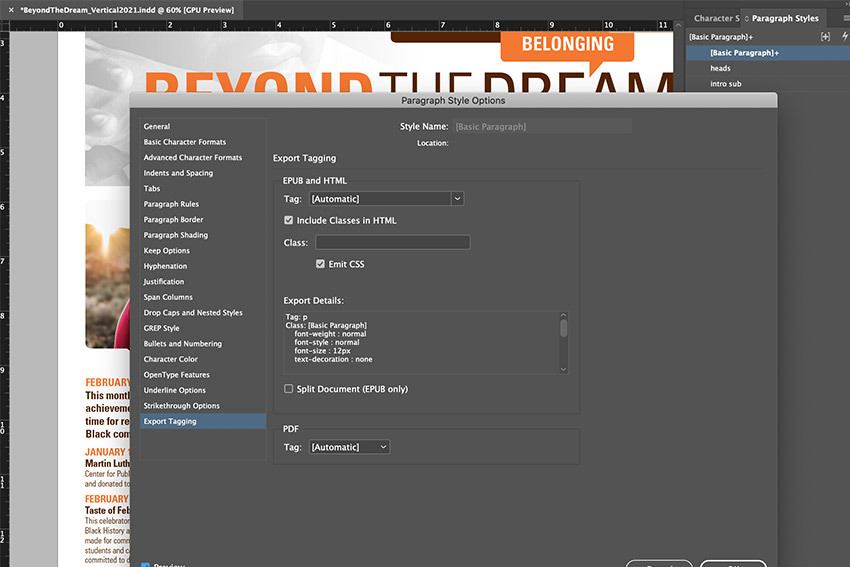 Associate each of the styles you’ve created with specific PDF tags
 Associate each of the styles you’ve created with specific PDF tags
From the Paragraph Styles options menu, select Export Tagging. Towards the bottom of the Export Tagging section, next to PDF tag, select the relevant tags for each of your styles.
Establish content read order with the Articles panel
- Go to (Window > Articles).
- Drag content from the document into the Articles panel in the order in which it should be read by screen readers.
- To drag multiple items, select them in the correct read order using Shift+click, then drag them all at once to the Articles panel.

*This is not necessary if your document reads top to bottom, but if you have content that is out of order, this is required
 ALT Tags
 ALT Tags
Screen readers can only indicate the presence of an image. Desribing what the image is requires providing alternative text (alt text).
Adding alt tags to images
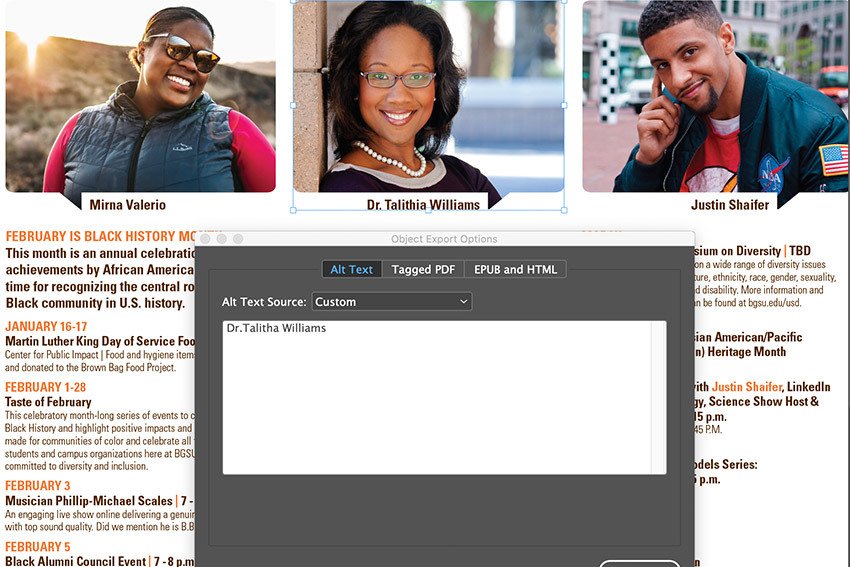
- Right click on the image and select “Object Export Options”
- In the “Alt-Text” tab, click the dropdown and select “Custom”
- Type/paste in the alt-text for the image
- Select Done
Adding alt tags to InDesign-made graphics
- Select all of the elements you want to include
- Right click and select “Group”
- Open the Object Style window
- Go to Window > Styles > Object Styles
- Create new object style, by selecting the new object style button at the bottom right of the paragraph style window
- Right click on your new object style and select “Edit object style”
- Give the object style a new “Style Name” like “Belong Graphic” at the top of the General section
- Uncheck all of the check boxes in Basic Attributes and Effects
- Right click on the group and select “Object Export Options”
- In the “Alt-Text” tab, click the dropdown and select “Custom”
- Type/paste in the alt-text for the image
- Select Done
How to export to PDF
When you use the InDesign PDF export options (print or interactive), the tagging, organizing, and bookmarking established in the layout become the tagging structure, order, and navigation scheme of the resulting PDF document.
- File > Export
- Change the format to “Adobe PDF (Interactive)”
- In the General section, make sure “Create Tagged PDF” and “Use Structure for Tab Order” are checked
- Go to the Advanced tab, make sure the “Display Title:” says “Document title”
- Click Export
Updated: 01/17/2023 10:23AM